Box guide
How to Measure a Box
Inside sizes, tolerances and the usual mistakes, so your next box fits first time.
Why the measurement matters
A box that is 10 mm too small will not close. A box that is 30 mm too big needs filler, costs more to post and lets the goods move about. Getting the size right is the cheapest way to protect what you send.
Box makers, including us, work from inside measurements. That is the space your product actually has. Everything in this guide is about finding those three figures and writing them down in the right order.
It takes five minutes with a ruler and a notepad. Those five minutes save a reprint, a returned parcel or a stockroom full of boxes that are nearly, but not quite, right.
Length, width and height: which is which?
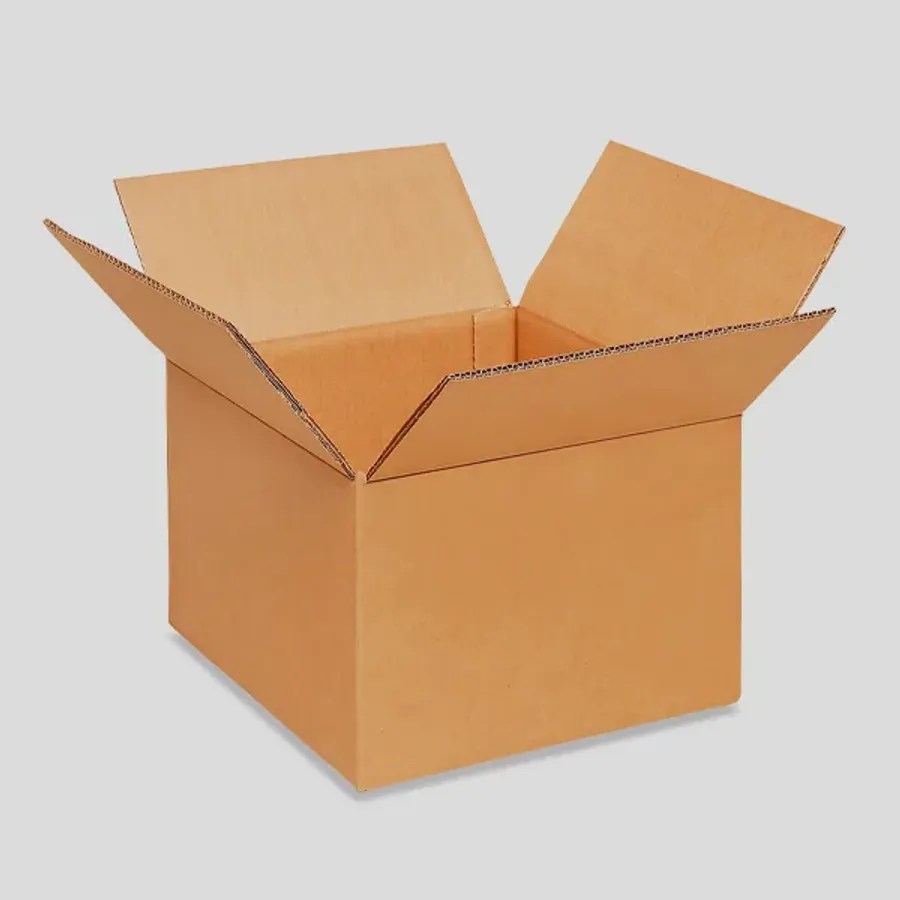
Look down at the box from above, at the opening. The longer side of the opening is the length. The shorter side of the opening is the width. Height is the depth, measured from the opening to the floor of the box.
This means the same box can be described two ways, depending on where it opens. A box that opens on the end, like a cereal carton, has a large height and a small length and width. A box that opens on top, like a shoe box, has a small height.
Always write the sizes as length × width × height, in that order. If the box opens somewhere unusual, add a note or a sketch so there is no doubt.
When in doubt, measure the opening first. Those two figures are always the length and width, and whatever is left is the height.
Inside size or outside size?
The inside size is the space for your goods. The outside size is what the box takes up on a shelf, in a van or against a postage limit. The gap between them is the board thickness, counted twice for each dimension.
Give us inside sizes when you order. Some boxes also have an outside limit, such as a locker or a postage band. Tell us that as well, and we will check both on the proof.
The table shows roughly how much each board adds to the outside of a box.
| Board | Approx. thickness | Added to each outside dimension | Example: 300 × 200 × 100 mm inside |
|---|---|---|---|
| E flute single wall | 1.5 mm | About 3 mm | About 303 × 203 × 103 mm outside |
| B flute single wall | 3 mm | About 6 mm | About 306 × 206 × 106 mm outside |
| C flute single wall | 4 mm | About 8 mm | About 308 × 208 × 108 mm outside |
| BC double wall | 7 mm | About 14 mm | About 314 × 214 × 114 mm outside |
How to measure a product for a new box
Use a steel rule or a rigid tape for anything under 300 mm, and a tape measure for larger items. Soft tailor's tapes stretch and give readings that are a few millimetres out.
Find the widest points of the product, counting handles, lids, spouts and labels that stick out. If it will be wrapped in tissue or bubble wrap, wrap it first and measure the bundle.
Then follow these steps in order, and write each figure down as you go.
- Stand the product upright, exactly as it will travel.
- Measure the longest side across the top: this is the length.
- Measure the shorter side across the top: this is the width.
- Measure from the table to the tallest point: this is the height.
- Add your packing allowance to each figure (see the next section).
- Round up to the nearest whole millimetre.
- Record the three inside figures in the order L × W × H, with a note on where the box opens.
How much room should I leave around the product?
The allowance depends on how tough the product is and what goes in the box with it.
Sturdy goods such as books, clothing and boxed items need very little extra: 3 to 5 mm on each side is usually enough, which means adding 6 to 10 mm to each dimension. Slide-in fits for retail cartons can be as tight as 1 to 2 mm a side.
Fragile goods need room for cushioning. Leave 30 to 50 mm clear around the item for bubble wrap, paper or foam, so add 60 to 100 mm to each dimension. If you are using a fitted insert instead, size the box to the insert, not the product. Our corrugated inserts made to fit are measured that way.
Soft goods are the exception to every rule. A folded jumper squashes, so you can size the box a little under its relaxed height and close the lid gently on it.
How to measure an existing box
If you already have a box that works and want more of the same, measure its inside, not its outside. Open it fully, push the flaps out of the way and measure from wall to wall at the base.
Measure from crease to crease rather than across a bulging wall. A box that has been packed may have stretched slightly, and the crease lines show the size it was made to.
Note the board too. Look at the cut edge: one row of flutes is single wall, two rows is double wall. Our guide to flute types and thickness helps you tell E, B and C flute apart.
Measuring round, tall and shaped items
For a round box or tube, measure the diameter across the widest part of the item and the height from base to top. A cylinder box is quoted as diameter × height, for example 75 × 100 mm.
For tall bottles, measure the height to the top of the cap or cork, not the shoulder. For items with handles, such as mugs, measure across the handle, since that is the widest point.
Odd shapes, such as a lamp or a sculpture, are best measured as the smallest rectangle they fit inside. Lay the item on a sheet of paper, mark its outer points and measure the rectangle. Our retention boxes for awkward shapes are another option for these.
Converting inches and centimetres
We accept sizes in millimetres, centimetres or inches. To convert inches to millimetres, multiply by 25.4. So 12 inches is 304.8 mm, which rounds up to 305 mm.
Convert each figure before rounding. If you round 11.6 inches to 12 inches first, you add nearly 10 mm, which is enough to make a snug box loose.
Centimetres simply move the decimal point: 30.5 cm is 305 mm. Millimetres are the clearest unit for box sizes, so use them if you can.
If your figures come from a supplier's spec sheet, check whether they are product sizes or packed sizes. Spec sheets often list the product alone.
Checking the sizes on your proof
Before production we email a free digital proof of the box laid flat, with its inside sizes marked. Read those figures against your notes before you approve anything.
Check three things. The order of the sizes should match how the box opens. The figures should be inside sizes, not outside ones. And any print should sit on the panel you expect, since a swapped width and height also moves the artwork.
If something looks wrong, reply before approving. A change at proof stage costs nothing, while a change after printing means a new run. If you need a starting point, browse typical UK box sizes in millimetres.
Measuring mistakes we see most often
These errors come up again and again. Check your figures against them before you send an order. Once the sizes are right, our page of plain cardboard boxes made to size is a quick place to get a price.
- Sending outside sizes from an old box instead of inside sizes
- Swapping width and height on an end-opening carton
- Forgetting a lid, handle or label that sticks out
- Measuring a wrapped item before it has been wrapped
- Rounding inches before converting them
- Leaving too much space for goods that will not be cushioned
- Ignoring the outside size when a postage limit applies